This video will show you how to upgrade OS X Mountain Lion to Mavericks using a USB Drive.
NOTE: You will need to create a OS X Mavericks USB drive and if you want to know how to do this you can see the video here. Before going ahead make sure you backup your data just in case anything goes wrong. You can find a video on how to do this here.
Step 1 After creating the OS X Mavericks USB drive, open up the USB drive and click on the Install OS X Mavericks installer.
Step 2 Press continue on the OS X Mavericks install screen. Click Agree and Agree again.
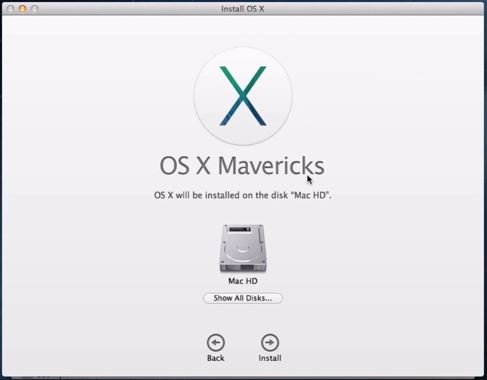
Step 3 Select your Hard Disk that you want to upgrade to OS X Mavericks. This should be your Main Hard Drive. Then click Install and add your password if it prompts you.
Step 4 Once you add in your password you will start the upgrade process. The computer will reboot when it finishes installing. This process can take 30 to 40 mins depending on the speed of your computer.
Step 5 Because this is an upgrade not a clean install of OS X Mavericks all your settings and files should be the same as you left it.
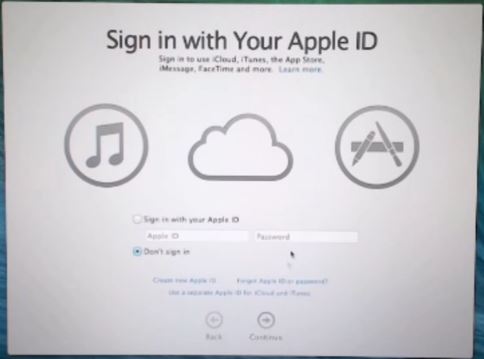
Step 6 You will be prompted for you Apple ID at the log in page. You can choose to sign in or skip this page.
And once you have logged in you should now see your OS X upgrade from Mountain Lion.
If you want some more information you can find it on the Apple Upgrade page here.
If you want to download the upgrade of OS X Mavericks you can find it in the App store here. Just remember that you will need to be running and old version of OS X to that has App Store in the Taskbar.
Good luck and feel free to ask any questions.
Cheers
Matt


