OS X El Capitan Installer USB

This video will show you how to create an OS X El Capitan Installer USB.

Hi All,
We previously showed 123myIT users how to create an OS X Yosemite and Mavericks USB drive. And we have the video on how to create an OS X El Capitan installer USB. The process is very simular to the other OS X installer videos that we have done in the past. There is a few code changes so just be aware of that.
Again you will need a computer running Mac OS X and you will also need a 8GB or larger USB drive. In this video I didn’t take any chances and I use a 16GB USB drive, which are quite cheap to buy these days.

sudo /Applications/Install\ OS\ X\ El\ Capitan.app/Contents/Resources/createinstallmedia --volume /Volumes/ElCapInstaller --applicationpath /Applications/Install\ OS\ X\ El\ Capitan.app --nointeraction

Copy and paste the code into a Terminal window and press enter, you will be prompted for a user name and password. This should be your Admin accounts user name and password. Remember to change the name of your USB device to ElCapInstaller if you miss this step the code will error out with something like incorrect syntax error. 🙂

OS X El Capitan Installer USB

You should see the name of the USB change from whatever its called when you plug the USB in to Install OS X El Capitan. Once this has completed you should then be able to use the USB drive to do clean installs of OS X on almost any Mac hardware or computer. Its always helpful to keep a back up of OS X versions. Because if you ever want to go back a version or install OS X on a different Mac its good to have this backed up copy. Also Apple updates their OS X software once a year and then makes their old version unavailable. So to save yourself getting caught out this way the USB is a great step.

In the next video I will show you how to do a clean install this OS X El Capitan Installer that you have just created.

Cheers
Matt

Download OS X El Capitan

This video will show you how to Download OS X OS X El Capitan.

Some people love it, some people hate it, some people can’t notice any difference between Apple’s latest version of OS X El Capitan and the earlier version Yosemite.
So what are the differences you might ask?
Lets give you a quick run down.
* Split View – Allows you to have two apps open on the one screen “Something Windows has been doing for a while now” 🙂
* Mission Control – Allows you to see all the Windows open at the same time on one screen.
* Call out you cursor – This is a funny one, I was doing the video Download OS X El Capitan I move the mouse quite quickly and the mouse went massive. See the picture below.

Download OS X El Capitan - Call out your cursor

So from what I can so mostly is little changes, nothing that I would consider really life changing additions to the operating system. More like little updates.

In this video however we will show you how to download OS X El Capitan so that we can use it to create an OS X OS X El Capitan USB installer drive. The benefits of this is that if you ever want to roll back to a version of OS X that may have run better on your Mac you can do this quite easily by doing a clean install.

So to download OS X El Capitan, go to http://www.apple.com/osx/ and click on upgrade now.

OS X El Capitan

You will need a Mac to download the software as well as an iTunes account user name and password. However once you have a copy of the OS X file you can copy that to a Windows computer if you wish.
Once the file is downloaded, simply copy it to the desktop and shortly I will put another video up on how you can make a USB installer drive from this file.

Stay tuned.
Matt

Install Windows 8.1 Enterprise on a MacBook Air OS X Yosemite

This video will show you how to Install Windows 8.1 Enterprise on a MacBook Air OS X Yosemite.

Hi All,
I setup this video to show people how to Install Windows 8.1 Enterprise on a MacBook Air OS X Yosemite. You need to know how to install Windows 8.1 Enterprise to allow you to then setup Windows to Go. Windows to Go is installing Windows 8.1 on an external USB drive rather than installing it to the computers built in hard drive.
You need to have a copy of Windows 8.1 Enterprise install on a Mac or a PC to allow you to setup the Windows to Go USB drive and I will do the next video on exactly how to do this.
So this video is in actual fact one step closer to setting up Windows to Go.

If you want to know more about the Windows to Go process you can check out the official Microsoft page here.
And for the techies out there, you can take a look at the TechNet version here.
So where do I get Windows 8.1 Enterprise version from I here you ask? Well you can follow the 123myIT.com video here. On the downloads page you will have a choice of Windows 8.1 or Windows 10 Enterprise version. For the Windows to go setup it probably doesn’t matter a whole lot which version you choose.

Windows 8.1 Enterprise on a MacBook

Once you have downloaded the Windows 8.1 Enterprise version, you can burn that ISO to a DVD and then install it either on a Mac or PC. Burning the copy to DVD allows you to install any computer but it also allows you to make sure you have a back up copy if anything does happen to the ISO file or to the computer that the ISO file is stored on.

Subscribe to the 123myIT.com YouTube channel to keep up to date with the latest 123myIT.com videos. Click here.

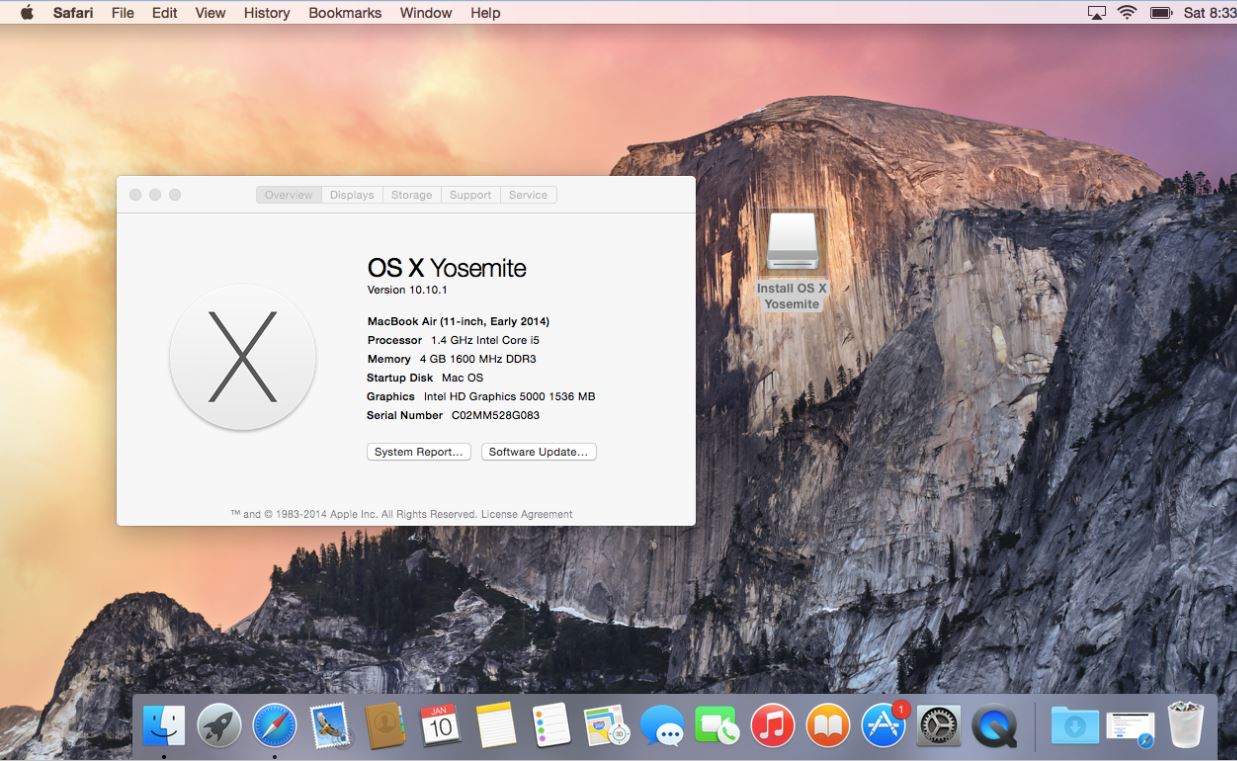
How to do a Clean Install of OS X Yosemite from USB

This video will show you how to do a clean install of OS X Yosemite from USB.

Hi All
I have had a few people from the 123myIT YouTube channel ask me how to Fix GPT Error: Windows cannot be installed to this disk.

If you have followed the video linked above and still having some problems getting Windows installed on your Mac because of the GPT partition it is probably best to do a clean install of OS X Yosemite and this video will help you achieve this.

You will need to Create a bootable OS X Yosemite installer USB drive, this drive will install OS X Yosemite on to your Mac.

Clean Install of OS X Yosemite

Make sure you back up your Mac with Time Machine, because the OS X install will remove any data you have on the Mac hard drive. Once you have everything backed up use the newly created USB drive to do Clean Install of OS X Yosemite.

Boot into the USB driver and format the Mac hard drive with Disk Utility. At this stage all of your data with be removed from the Mac hard drive and you can then proceed with the install. Doing a clean install of OS X Yosemite will take around 30 mins to 45 mins depending on the speed of your Mac hardware. Your Mac will also restart a few time during this stage. Just let it do its thing. Once the Mac OS X Yosemite has been installed you will need to setup the Mac as if it is a new Mac. So you will need to choose a user name a password, choose time zone and location.

If you want to know more about the OS X Yosemite you can find more info on the official Apple web page here.

Install Windows 10 Tech Preview on a MacBook Pro OS X Yosemite

This video will show you how to Install Windows 10 Tech Preview on a MacBook Pro OS X Yosemite.

Hi All
In this video we take a closer look at Windows 10 Tech Preview. This is just another option for Mac users who want to run Windows on their computer.
You will need to download the Windows 10 Tech Preview iso file and have a USB drive that is 8GB or larger.

You can download the Windows 10 Tech Preview on the 123myIT.com Downloads page. For link click here.
Windows 10 Tech preview comes in the follow different flavours.
English (United States) 64-bit (x64)
English (United States) 32-bit (x86)
English (United Kingdom) 64-bit (x64)
English (United Kingdom) 32-bit (x86)
Chinese (Simplified) 64-bit (x64)
Chinese (Simplified) 32-bit (x86)
Portuguese (Brazil) 64-bit (x64)
Portuguese (Brazil) 32-bit (x86)

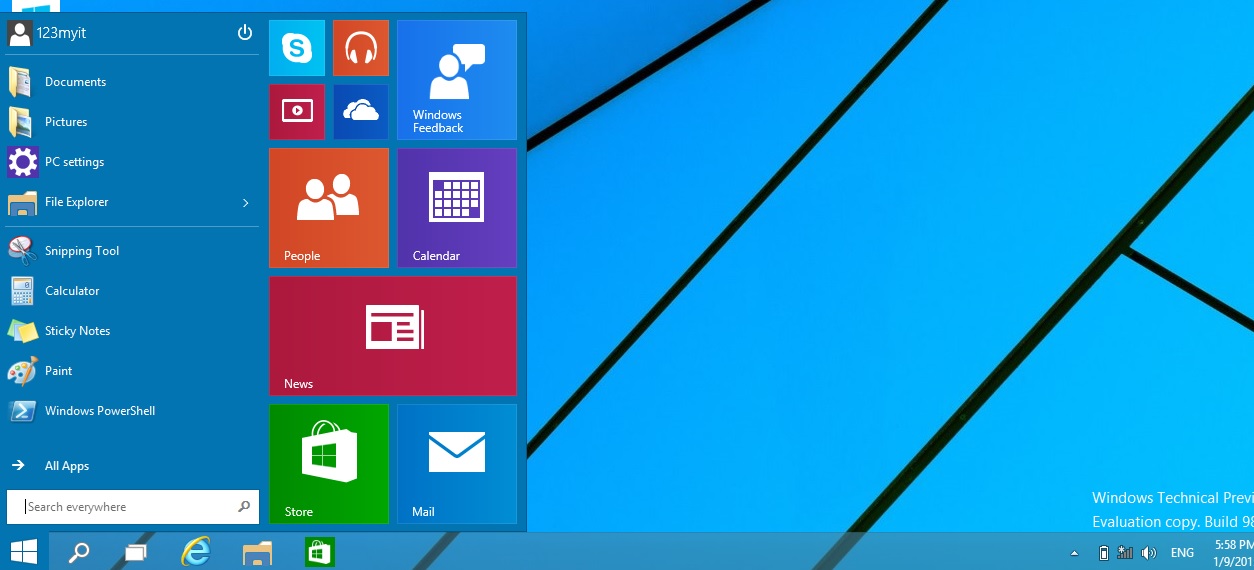
The main thing you will notice about Windows 10 is the Start menu has been added back and the apps have now been incorporated directly into the Start menu.

Windows 10 Tech Preview Start Menu

Anyone can download this version it will expire on 04/16/2015 and should only be installed for people who want to give feedback to Microsoft about the workings of the new operating system. For more information see the Microsoft website here.

I didn’t get prompted for a product key. However if you need one you can use the one below.
Product key: NKJFK-GPHP7-G8C3J-P6JXR-HQRJR

If Windows 10 Tech Preview is not your thing you can take a look at install Windows 8.1 preview on your Mac videos for both MacBook Pro and MacBook Air below.
MacBook Pro
MacBook Air
After installing Windows 10 Tech Preview on your MacBook, if you are still having some problems with the sound buttons are not working, then it could be an issue with the Windows support or boot camp drivers.
Find out what model your Mac is and start looking for the drivers here. Boot Camp Drivers.

Cheers
Matt