This video will show you how to create an ISO file on a Mac.
An ISO file is the Windows equivalent to the cdr file created by MAC systems.
Creating an ISO file on a MAC is a two step process. The following steps, outlined in the video, will guide you through the both steps of the process.
Creating the cdr file
Step 1: Insert the DVD
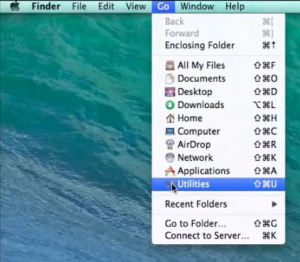
Step 2: Select Go / Utilities at the top of the window
Step 3: Open ‘Disk Utility’
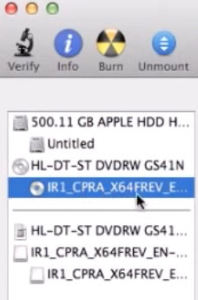
Step 4: Click on Windows 8 DVD drive on the left of the window
Step 5: Click on ‘New Image’ at the top of the window
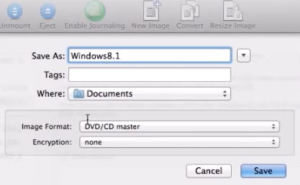
Step 6: Change the following;
- ‘Image Format’ to DVD/CD Master
- ‘Save As’ to desired output filename
- ‘Where’ to desired destination for output file
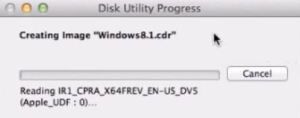
Step 7: Click the ‘Save’ button on the bottom right of the window
The following steps will guide you through converting the completed cdr file to an ISO file.
Creating the ISO file on a MAC system
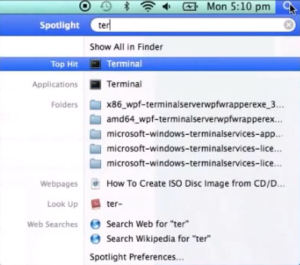
Step 1: Go to ‘Finder’ and type in terminal at the top of the window
Note: the following will require administration rights to complete.
Step 2: Type cd desktop and hit Return
Step 3: Type or copy/paste the following command *
hdiutil makehybrid -iso -joliet -o [filename].iso [filename].cdr
*Note: you will need to change both occurrences of [filename]. The first is the output filename, the second is the filename of the cdr file you just created.
Once the process in the terminal window is complete, simply click on the ISO file in your chosen location to view the contents.

