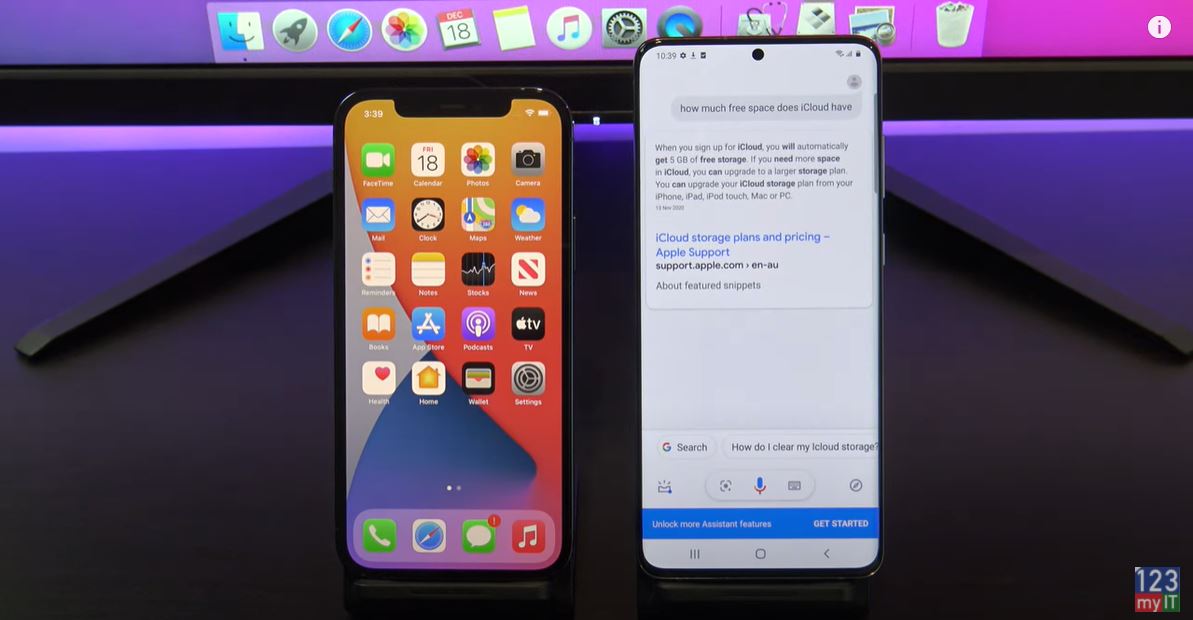
Hi Guys and welcome to 123myIT. In this video, we will show you how to backup your iPhone or iPad to Google Drive.
By following this video you will be able to backup Contacts, Google Calendar, Photos & videos to Google Drive. Why would you want to backup to Google Drive? Mainly Storage reasons.

Things to be aware of. You need to be on WIFI to back up your data.
Only new content will be backed up if you backup more than once.
Backup your iPhone to Google Drive
In addition, albums will not be backed up to Google Drive. Lastly, you can still keep your iCloud backup and before you do a backup make, sure you delete any videos or pictures you do not need. Such as blurry pictures so, it does not take up your backup space.
Download Google Drive
Let get started. Logon to App Store and search and download Google Drive. Go ahead and Open it up. Tap open and Tap sign in. Sign in with the Google Account you want to back up your iPhone with.
In the top left, tap the menu button and then Tap Storage and View Details to see how much space you have. Tap the X to go back then Tap menu again and go into Settings then Backup. If you don’t want to backup any of these you can go in and toggle them off. I don’t want t backup my contacts or Calendars.
Under Photos and Videos, You have two backup options. Original and High quality. High quality stores the files at a smaller size. Therefore, this does not eat into your storage quota. Once you are done hit Start Backup. Just go ahead and tap allow access.
Backup Complete
Cool out backup is complete let’s check our photos on the phone. Cool our photos are there.
The next step here is important. You need to check that your data has been backed up to Google Drive. Remember your back is only as good as the data you can restore. So always, check what has been backed up.
Go to another computer and login to Google drive or Gmail. In the top, right click on the Rubix cube icon. You can find your contact by clicking the contacts menu. You can find your calendar items by clicking on Calendars. I want to check my photos have been backed up so I click on Photos menu. Awesome there they are they have been backed up.
Guys, don’t forget to check out my other videos such as MacBook Air vs MacBook Pro M1 review. Also do me a favour if you know anyone who might like this video please share it will them, hit the subscribe button and smash the bell icon.
