VPN which one should you use?

VPN which one should you use?

This video will recommend two VPN service providers a free version CyberGhost and a paid version Private Internet Access. Virtual Private Network’s are used to make your network connection private.

Hi All, I wanted to do a video on VPNs which stands for Virtual Private Networks. What does it do I hear you ask? It actually makes the network that you are on private. So you can use a VPN to make your network private anonymous and secure.

In this video I go into a few ways on how Virtual Private Network’s are used and I will also give a few examples on how I personally use a VPN. Now the reason why I want to do this video is because I actually wanted a VPN to use for personal use and I decided it would be a good opportunity to test a few different VPNs so that I had a really good idea of what a good VPN is and this would allow me to recommend these VPN’s to others.
Also there are a lot of different VPN providers out there so it can be quite confusing if you are looking for a VPN to know which is the best VPN to use.

So what can you use a VPN for?
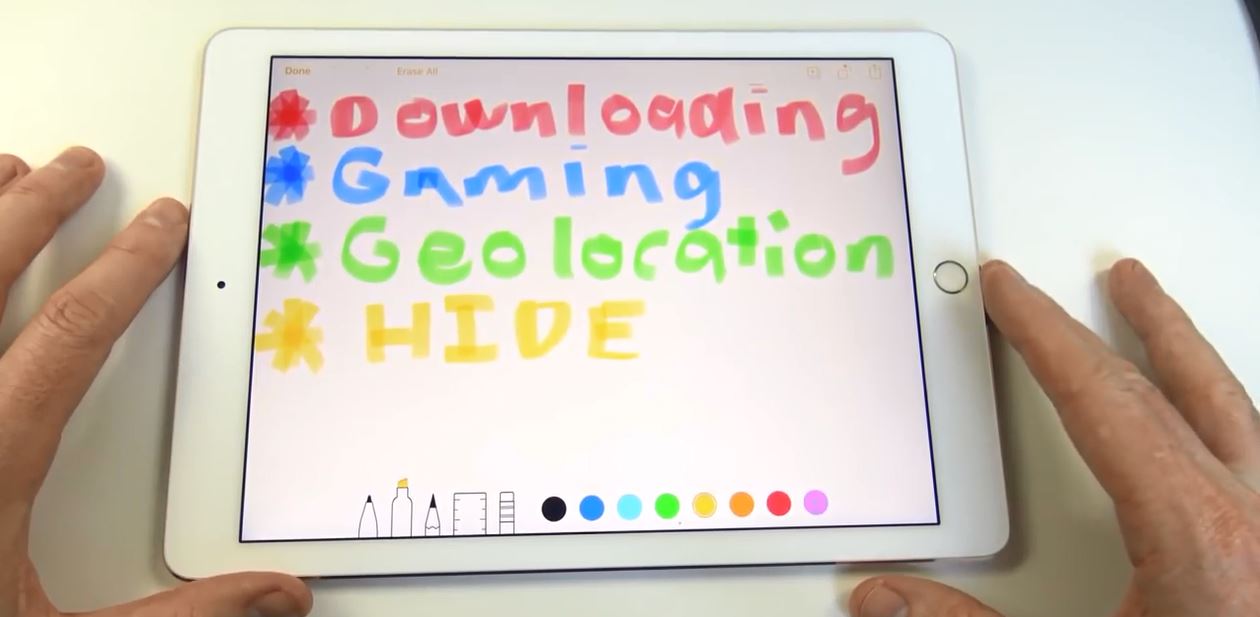
* Downloading
VPNs have been used in the past and make a user’s connection private when downloading content from the Internet it can be used to make your connection anonymous therefore you are harder to track.
* Gaming
VPNs have been used by gamers to route the gaming traffic towards a gaming server when their ISP may be routing their traffic in a different direction.
This has the potential to lower gaming ping and therefore improve gaming latency to a gaming server however my testing using a VPN to improve ping to a gaming server has not been successful.
* Geolocation
A Virtual Private Network can be used to give you access to information that otherwise might be filtered by a country or ISP.
For example some news websites may be filtered by your country that does not want you to access them.
Some movie content that is only available for free to the citizens of that country. An example of where this is applied to me is getting access to the BBC iPlayer which is only available if you are British if I use a VPN to connect to a British server I can access all the content that a British citizen would be able to access. I was also able to make a free 1800 call to the US by connecting to a US VPN server and then starting up Skype which allowed me to call the 1-800 number for free as if I was a US citizen.

VPN

* Hide
From hackers or governments that otherwise might be able to scan or hack your connection IP. This is not a fail safe of course but its a good start. Always remember that nothing is safe online only after unplugging from the network can you really guarantee a safe environment. Even then if you are on an iPhone that isn’t connected to a provider you can still be hacked through the emergency call function. Pretty scary stuff.

Create MacOS Sierra Install USB

Create MacOS Sierra Install USB

Hi guys and welcome to 123 my IT’s video on how to create an MacOS Sierra Install USB.
Ok guys recently I did a video on how to download Mac OS Sierra and to see that video you can find it on the following link. How to download Mac OS Sierra.

That video shows you how to download this app and now the next step is to show you how to actually create a MacOS Sierra Install USB from this app. So the USB thumb drive has to be a minimum of 8 gigabytes in size for you install the OS X Sierra software on the USB and then you can do a fresh install of Mac OS Sierra from this use to any Mac.
Lets for example say you wanted to sell your old Mac or you had a problem with your Mac like you had a virus on there any need to do a fresh install. You can use this USB to format the Mac and install a fresh copy of OS X.

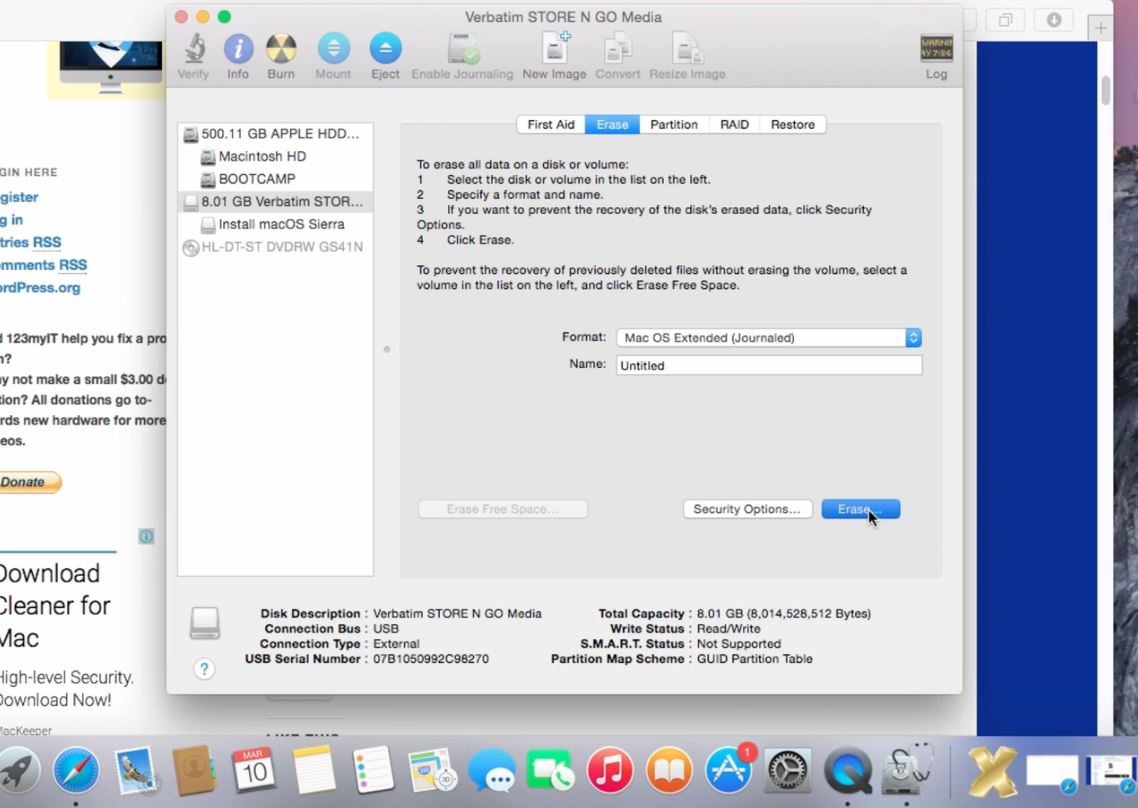
So the first step you will need to do is format the USB and you can do this by plugging your USB thumb drive and then go to go in the Apple menu and then go down to disk utilities.

Create MacOS Sierra Install USB

Click on the USB that you want to format and make sure it’s set to Mac OS X extended journaled and keep it as untitled for now you can change this around but if you change this around you have to actually change the untitled part in the code there so let’s just leave it as untitled for now.

Make sure you have no important data on the USB because the next step will delete any data that was on the USB.
Once you have done this just click erase and then erase again. The USB will disappear and it will start to format the USB.

The next step is to download the install disc creator app you can get the install disc creator app from the 123myIT.com website, under downloads or simply click the link here.
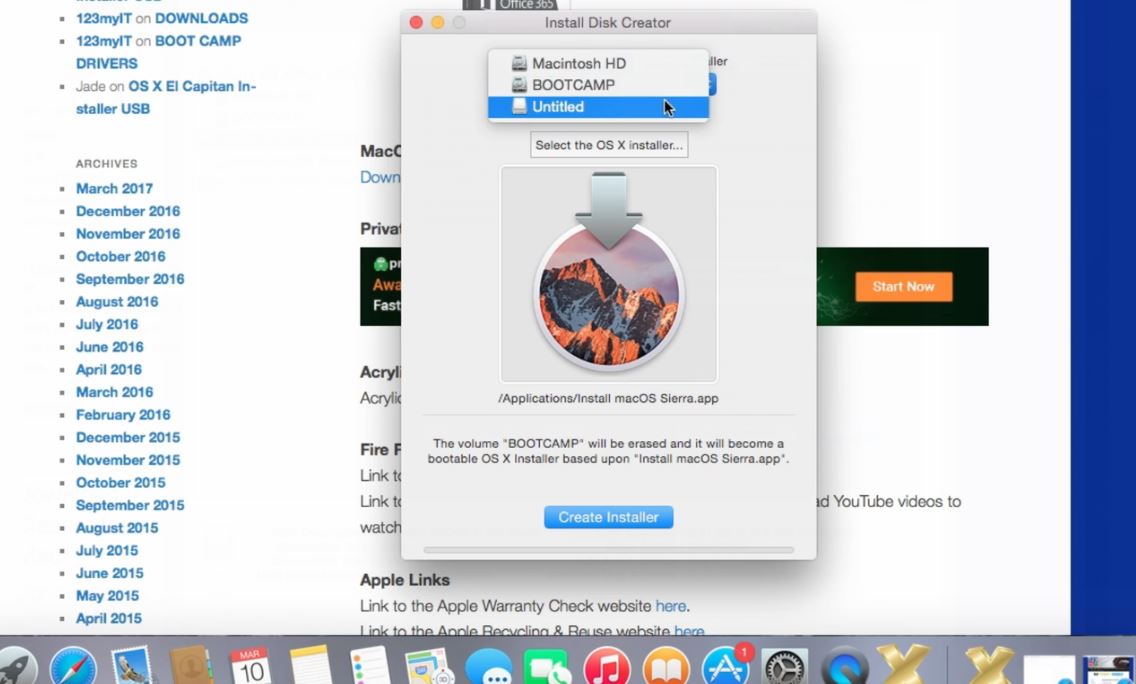
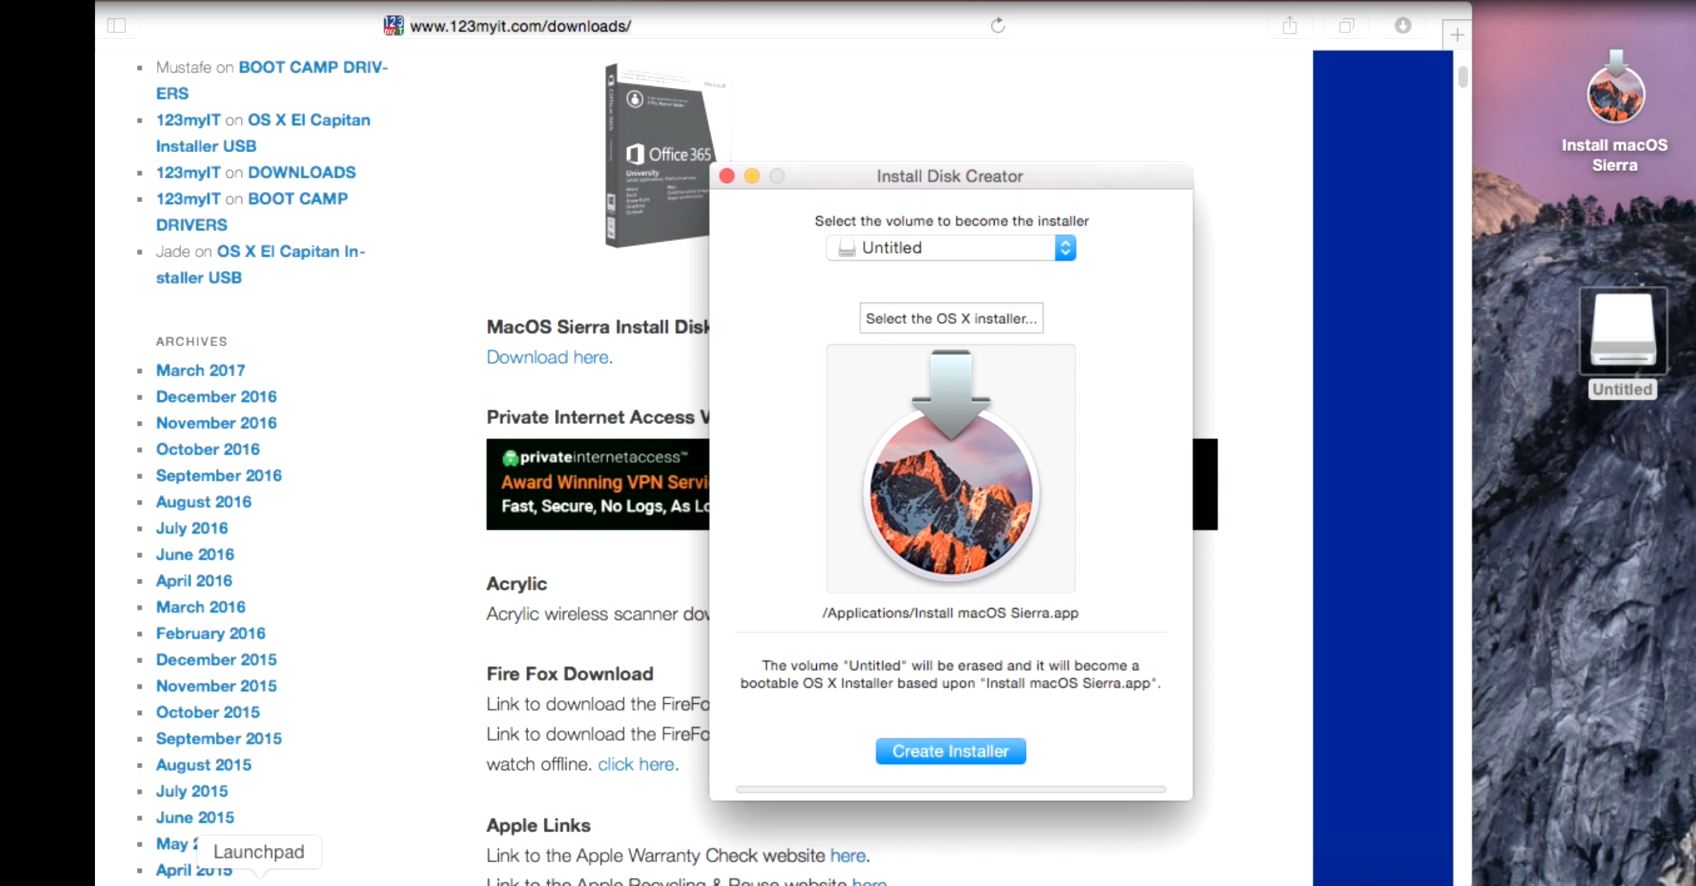
Open up the install disc creator you will need to select the untitled USB from the drop-down menu. Make sure the OS X Sierra app is selected below then click create installer button. You may be prompted for a password this will be the administrator password type in the password and then click ok. This process can take about 5 to 10 minutes depending on the speed of your Mac.

Install Disk Creator

To do this same process with the terminal code copy the terminal code below then open up a terminal Window by going to finder and then type terminal and then hit return.

sudo /Applications/Install\ macOS\ Sierra.app/Contents/Resources/createinstallmedia --volume /Volumes/Untitled --applicationpath /Applications/Install\ macOS\ Sierra.app --nointeraction &&say Done

Simply right click and paste the command into the terminal window, press return again and you will be prompted for your administrator password type in your administrator password.

Terminal command MacOS Installer Disk

if successful you should see the terminal window start to erase the USB and copying installer files to the disc. Once this is done you should be able to then use the USB to do a clean install of any Mac.
I hope that helps guys ! 🙂

How to Download macOS Sierra

How to Download macOS Sierra

This video and article will show you how to download MacOS Sierra, which can be used at a later date to install on any Apple Mac computer.

Why would you want to download a copy of OS X Sierra? When you have an offline copy that means you can then install it on any Mac, so let’s say you wanted to sell your Mac wipe all the data that was on the local hard drive before you sold it you can go through it and reinstall the operating system with macOS Sierra.
Another good thing about having the offline copy is you can actually install it on other Mac’s, also Apple tends to update this software once a year so if you don’t download a copy at some stage and you wanted to reinstall this particular version of macOS you won’t be able to.

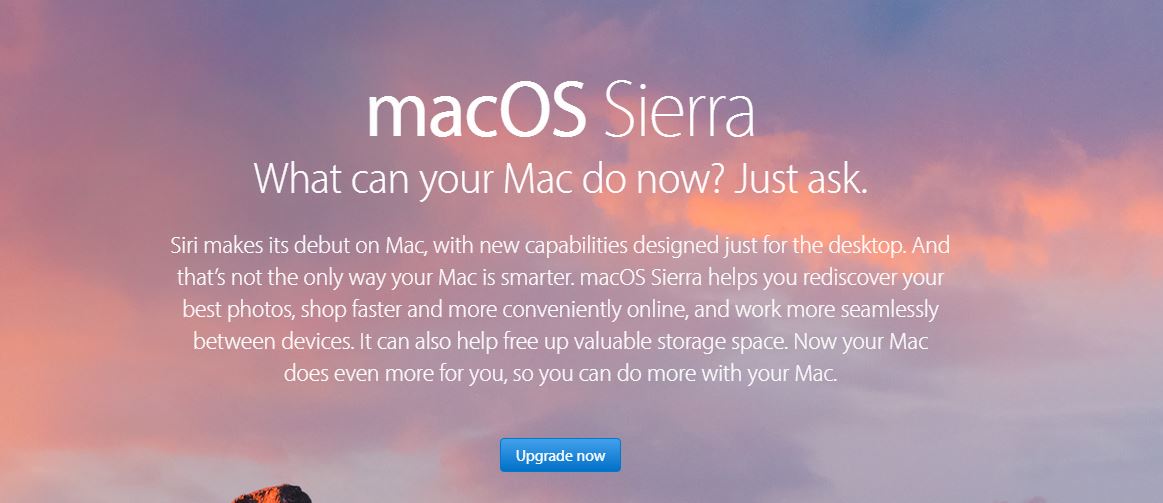
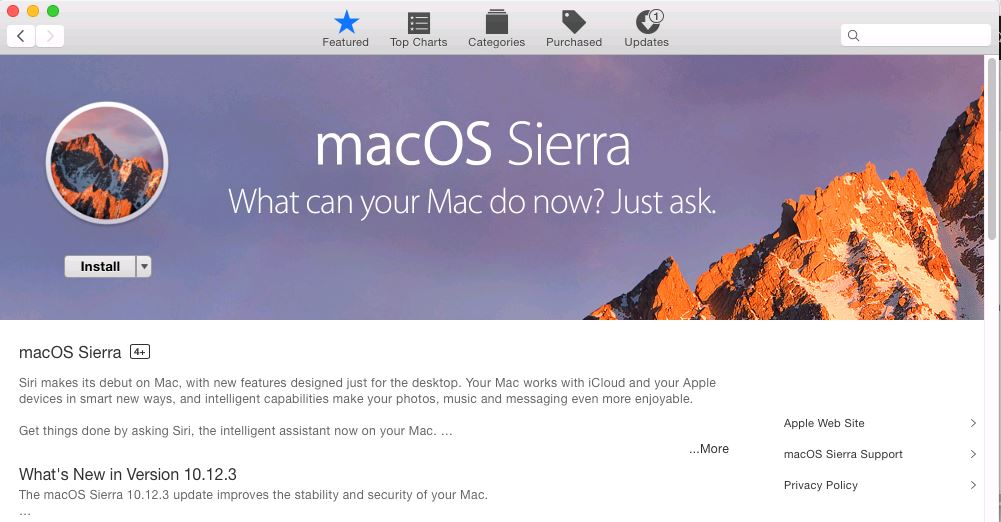
So to download macOS Sierra it’s straightforward all you need to do is open Safari and then go to the Apple website. Or you can use this link as a quick link. http://www.apple.com/macos/sierra/

Download macOS Sierra

You should then have a download or upgrade button. Click that and download the macOS Sierra app.

Download or Install MacOS Sierra

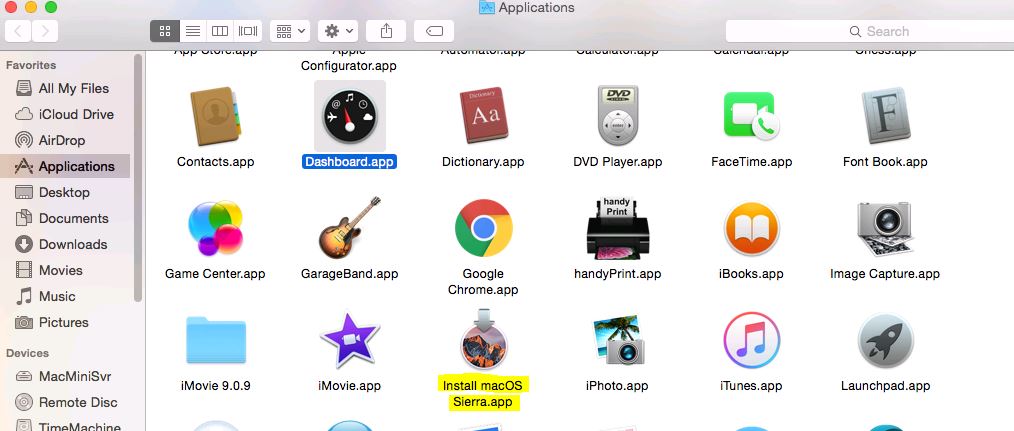
Once downloaded you should see the macOS Sierra app in the Applications menu. This is good news because you now have a copy of the software and its ready to be installed on to a USB.

macOS Sierra app

I will do a video of how to install macOS Sierra on USB too shortly, but basically if you wanted to install this on the USB lets say you had some problem with your Mac any wanted to do a fresh install, maybe it got a virus or something like that.
What you can do is follow my video will be on the 123myit.com website on how to extract this and put it onto a USB and then I’ll show you how to basically reload a Mac with a clean install with the new version of Mac OS X Sierra.

I hope this helps guys.
Cheers
Matt

Apple Recall – AC Wall Plug Adapter

This video will show you how to identify an affected Apple AC Wall plug adapter. These adapters are being recalled by Apple because of a design fault where by the affected plug could shock some users.

This is a massive design fault by Apple a company that prides itself on great design. The adapter that comes with all iOS and Mac computers which allows you to change the power cord for a longer power cord or to change adapter type for different country’s.
If the plug gets damaged or breaks over time there is a chance that that you could take an electric shock.
Most people would assume when a plug is broken in this way that you would throw the plug out and by a new one, however improved design may actually stop being shocked even with a faulty plug.
And thus the Apple Recall has started.

So how do you tell If you have an Apple recall plug or not? Well here is Apples explanation below which I find that I had two read it a few times to make sense of it. 🙂

Identifying your wall plug adapter
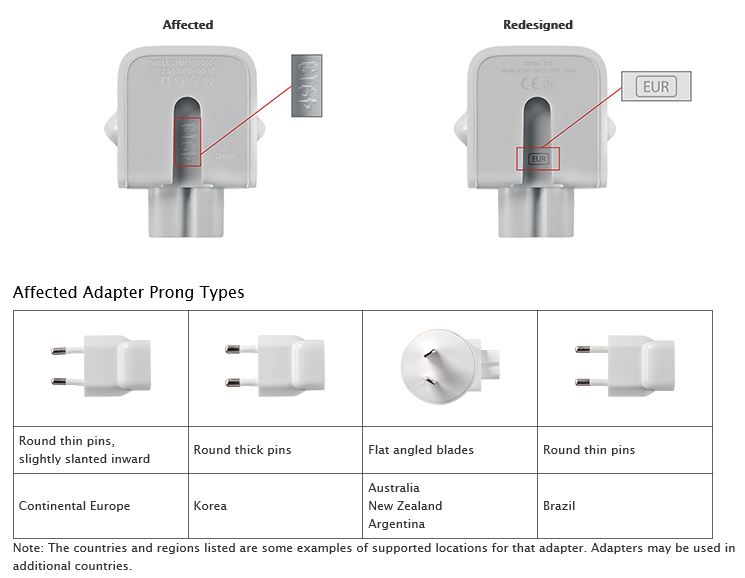
Compare your adapter to the images below. An affected wall plug adapter has 4 or 5 characters or no characters on the inside slot where it attaches to an Apple power adapter. Redesigned adapters have a 3-letter regional code in the slot (EUR, KOR, AUS, ARG or BRA).

Source Apple.com

Apple Recall

So can we have that in plain English please? Basically in these countrys Europe, Korea, Australia, Argentina and Brazil, If you check your AC adapter and it has 4 or 5 numbers on it or is blank then you can return it to an Apple store for an exchange.

Pretty straight forward? I don’t know why they didn’t just say that on their webpage.

Cheers
Matt