Install Windows 10 Tech Preview on a MacBook Pro OS X Yosemite

This video will show you how to Install Windows 10 Tech Preview on a MacBook Pro OS X Yosemite.

Hi All
In this video we take a closer look at Windows 10 Tech Preview. This is just another option for Mac users who want to run Windows on their computer.
You will need to download the Windows 10 Tech Preview iso file and have a USB drive that is 8GB or larger.

You can download the Windows 10 Tech Preview on the 123myIT.com Downloads page. For link click here.
Windows 10 Tech preview comes in the follow different flavours.
English (United States) 64-bit (x64)
English (United States) 32-bit (x86)
English (United Kingdom) 64-bit (x64)
English (United Kingdom) 32-bit (x86)
Chinese (Simplified) 64-bit (x64)
Chinese (Simplified) 32-bit (x86)
Portuguese (Brazil) 64-bit (x64)
Portuguese (Brazil) 32-bit (x86)

The main thing you will notice about Windows 10 is the Start menu has been added back and the apps have now been incorporated directly into the Start menu.
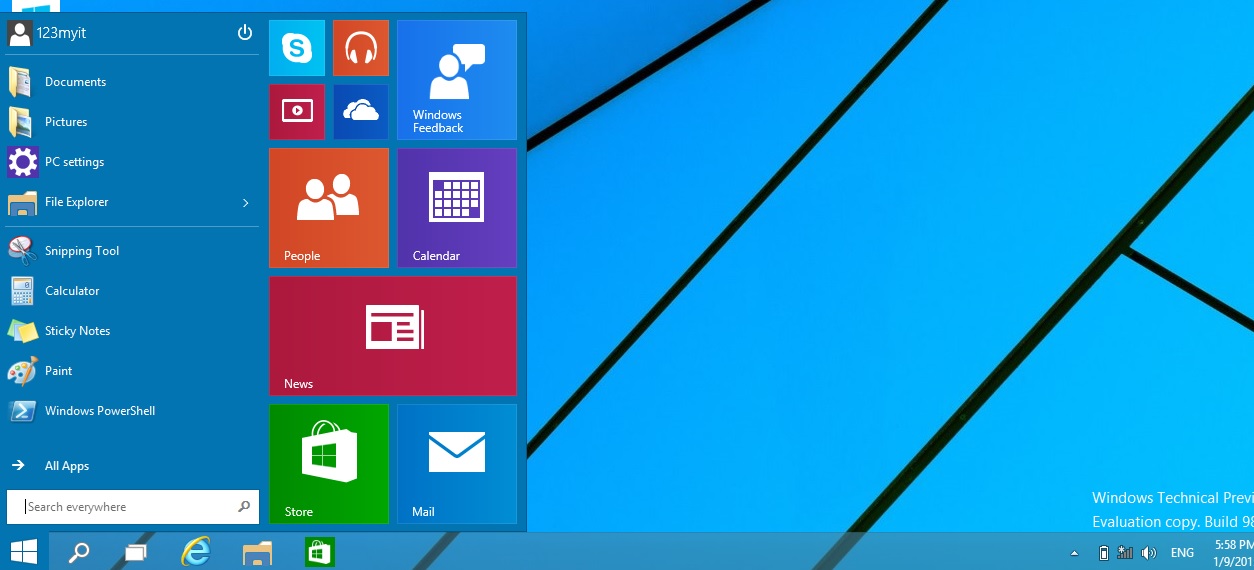
Windows 10 Tech Preview Start Menu

Anyone can download this version it will expire on 04/16/2015 and should only be installed for people who want to give feedback to Microsoft about the workings of the new operating system. For more information see the Microsoft website here.

I didn’t get prompted for a product key. However if you need one you can use the one below.
Product key: NKJFK-GPHP7-G8C3J-P6JXR-HQRJR

If Windows 10 Tech Preview is not your thing you can take a look at install Windows 8.1 preview on your Mac videos for both MacBook Pro and MacBook Air below.
MacBook Pro
MacBook Air
After installing Windows 10 Tech Preview on your MacBook, if you are still having some problems with the sound buttons are not working, then it could be an issue with the Windows support or boot camp drivers.
Find out what model your Mac is and start looking for the drivers here. Boot Camp Drivers.

Cheers
Matt

Create a bootable OS X Yosemite installer USB drive

Apple have made it much easier to create an OS X Yosemite installer USB drive and this same process can also be done for OS X Mavericks. In this video and article I will show you what you need to do to make this happen.

You can check out the older video 123myit.com video for the Mavericks USB here.

What do you need to get started?
* 8GB or larger USB drive, SD Card or USB hard drive
* OS X Yosemite.app or Mavericks.app (this can be downloaded from the App Store)
* An Apple computer with access to the Apple App Store
* A user account with administrator rights

Step 1. Download Yosemite, Mavericks from the App store.
Apple direct link here.
Step 2. Insert your USB into the Mac and run the Disk Utility.
Step 3. Erase the USB, so it becomes a clean USB with no data on it.
Step 4. Download OS X Yosemite App, get it from the Apple Store.
Step 5. Open Terminal and use the command below. Make sure the Yosemite App is located on your Desktop of your Mac.

NOTE: Change the USB name to MyVolume or you can change code “MyVolume” to the same name as your USB drive.

OS X Yosemite
sudo /Applications/Install\ OS\ X\ Yosemite.app/Contents/Resources/createinstallmedia --volume /Volumes/MyVolume --applicationpath /Applications/Install\ OS\ X\ Yosemite.app

OS X Mavericks
sudo /Applications/Install\ OS\ X\ Mavericks.app/Contents/Resources/createinstallmedia --volume /Volumes/MyVolume --applicationpath /Applications/Install\ OS\ X\ Mavericks.app

OS X Terminal Command

This install may take some time depending on the speed of your Mac hardware. Once the Terminal finishes copying everything across you will then be able to use the OS X Yosemite installer USB drive to do clean installs of OS X Yosemite.

If you are looking for a video on how to setup OS X Mavericks USB you can use the code above if that doesn’t work you can find the 123myIT.com video.
How to do a clean install of OS X Mavericks from USB

Good luck,
Matt

How to Add Bookmarks in IOS 8

This video will show you how to Add Bookmarks in IOS 8.

Hi All,
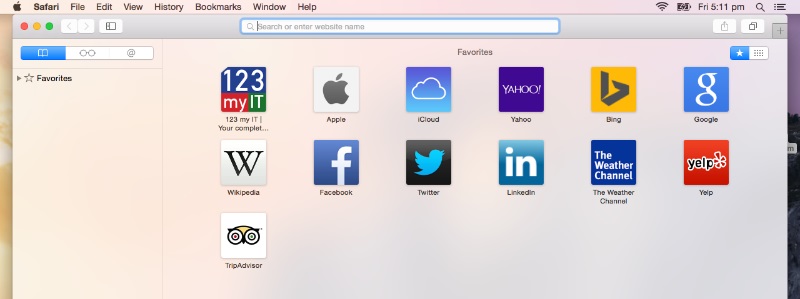
I always cringe a bit when I see people that use their iOS device everyday. But still have the same old default Apple, Bing, Google and Yahoo Bookmarks icons in their Safari browser. This also goes for any Mac running OS X Yosemite as the home page on these Mac’s now defaults to a bookmarks screen bringing them inline with their iOS devices.

Mac OS Bookmarks Page

I really don’t like this page as I feel its locking people in. However its here to stay so we may as well work with it.

So the steps to add a Bookmark in iOS is pretty straight forward, all you need to do is go the website you want to add. For the example in the video I used the www.123myit.com website. Once you have browsed to your website. Press the up arrow icon in the middle of the page at the bottom.

iOS Bookmark 1

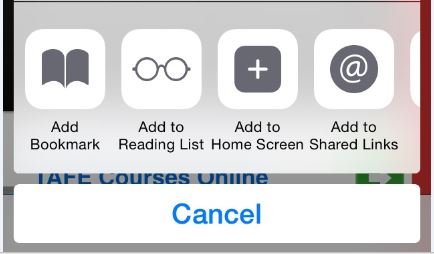
Once this is done you will see a menu which contains the Add Bookmark, Add to Reading List, Add to Home Screen, Add to Shared Links buttons, press the Add Bookmark button and this will take you to the next screen.

Add Bookmarks in IOS 8

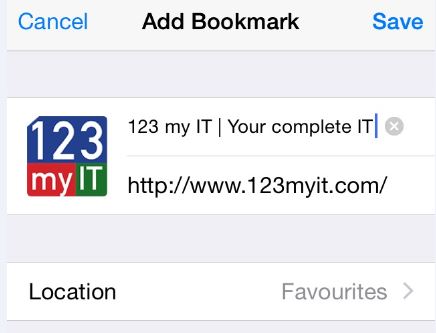
The next screen will have the Bookmark that you want to save, at this stage you can change the heading of the Book mark if you wish. In the video I have removed the “Your complete IT help portal” from the 123myit.com Bookmark. Once you have adjusted the heading simply press save.

Save iOS Bookmark

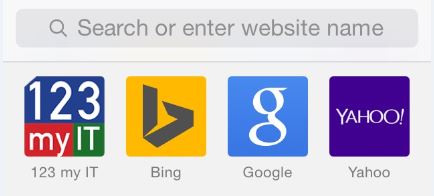
Once saved the Bookmark will show up every time you start a new Safari browser session.

Saved iOS Bookmark

If you want to know more about iOS 8, you can find the official Apple site here.